-
Contact us with Whatsapp:
+8801734997063 -
Mail Us:
[email protected] -
Service Hours
24/7
How To do Vehicle Photography and Photo Retouching?

Apr 2024
- 19 Apr 2024
- Business Solution
- 0 Views
How To do Vehicle Photography and Photo Retouching?
Introduction: Vehicle photography is an art form that requires a keen eye for detail, a good understanding of lighting, and the ability to showcase the essence of the automobile. In today's digital age, with social media platforms flooded with stunning car photos, it's essential to know how to capture and retouch images that stand out. Whether you're a professional photographer, a car enthusiast, or someone looking to improve their photography skills, this guide will take you through the steps of capturing striking vehicle photos and enhancing them through photo retouching techniques.
How To Capture a Vehicle Photography?
1. Understand the Essence of the Vehicle: Before you start shooting, take the time to understand the vehicle you'll be photographing. Research its design, features, and history to gain insight into its unique characteristics. This understanding will guide your composition and help you highlight the car's best attributes. Whether it's the sleek lines of a sports car or the ruggedness of a 4x4, knowing the essence of the vehicle will inform your creative decisions during the shoot.
2. Choose the Right Location: The location can make or break a vehicle photo shoot. Select a setting that complements the vehicle's style and personality. Urban environments with modern architecture are ideal for sleek and futuristic cars, while natural landscapes provide a dramatic backdrop for off-road vehicles. Consider the lighting conditions and background elements when choosing a location, and aim for environments that enhance the overall aesthetic of the vehicle.
3. Pay Attention to Lighting: Lighting is crucial in vehicle photography as it can dramatically affect the mood and appearance of the car. Aim to shoot during the golden hours of sunrise and sunset when the light is soft and diffused, creating flattering highlights and shadows. If shooting during the day, look for shaded areas or use diffusers to soften harsh sunlight. Experiment with different lighting angles to highlight the car's contours and features, and consider using artificial lighting sources such as strobes or LED panels for added control.
4. Experiment with Angles and Perspectives: Don't be afraid to get creative with your angles and perspectives when photographing vehicles. Explore different vantage points, such as low angles to emphasize the car's presence and power, or high angles to capture its sleek silhouette from above. Experiment with wide-angle and telephoto lenses to vary the perspective and composition, and consider incorporating interesting foreground elements or reflections to add depth to your shots. By experimenting with angles, you can capture unique and dynamic images that stand out from the crowd.
5. Focus on Details: Vehicles are full of intricate details that can make for compelling photographs. Instead of just capturing the car as a whole, zoom in on specific features such as the headlights, grille, or wheels to showcase their design and craftsmanship. Pay attention to reflections and highlights, and use polarizing filters to minimize glare and enhance color saturation. By focusing on details, you can create captivating images that highlight the car's unique personality and character.
6. Embrace Motion and Action: Adding a sense of motion or action to your vehicle photos can inject energy and excitement into the image. Experiment with techniques such as panning to capture a moving car with a blurred background, or using long exposures to create light trails at night. Incorporate elements like dust, water splashes, or tire smoke to convey a sense of speed and dynamism. By embracing motion and action, you can create dynamic and engaging images that tell a story and capture the thrill of driving.
7. Perfect Your Post-Processing: Post-processing is an essential step in vehicle photography to enhance the visual impact of your images. Use software like Adobe Lightroom or Capture One to fine-tune exposure, contrast, and color balance, ensuring that the image looks polished and professional. Pay attention to details such as dust spots or blemishes, and use retouching tools to remove distractions and imperfections. Experiment with creative effects like vignetting, selective color adjustments, or HDR toning to add depth and dimension to your photos. By perfecting your post-processing techniques, you can elevate your vehicle photography to the next level and create images that leave a lasting impression.
In this guide, we'll explore seven essential tips to help you perfect your vehicle photo retouching skills and create stunning images that leave a lasting impression.
1. Start with High-Quality Images: The foundation of any successful photo retouching process is high-quality images. Start by shooting in RAW format to capture maximum detail and flexibility. RAW files contain more data than JPEGs, allowing for greater control over exposure, color, and tone during post-processing. Ensure that your images are properly exposed and sharp, with accurate colors and minimal distractions. Starting with high-quality images will make the retouching process more efficient and effective.
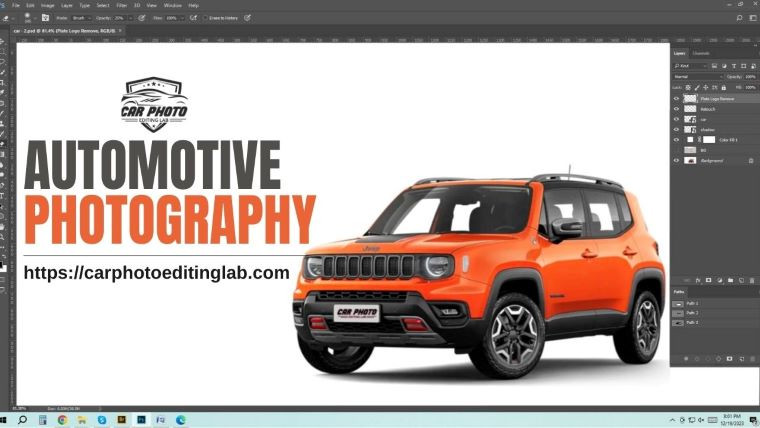
2. Clean Up the Image: Before diving into detailed retouching, start by cleaning up the image to remove any distractions or imperfections. Use tools like the spot healing brush or clone stamp tool to eliminate dust spots, blemishes, or other unwanted elements. Pay attention to reflections on the car's surface and remove any distracting objects or reflections that detract from the overall image. By starting with a clean canvas, you can focus on enhancing the car's features and improving the visual impact of the photograph.
3. Enhance Color and Contrast: Color and contrast play a significant role in vehicle photography, helping to create depth and dimension in the image. Use adjustment layers such as curves or levels to fine-tune the overall contrast and tonal range of the image. Experiment with selective color adjustments to enhance the vibrancy of the car's paintwork and make it stand out against the background. Pay attention to color balance and consistency across the image, ensuring that the colors look natural and true to life.
4. Focus on Details: Vehicles are full of intricate details that can make or break a photograph. Zoom in on specific areas of the car, such as the headlights, grille, or wheels, and enhance their clarity and definition. Use sharpening tools to add crispness and detail to these areas, making them pop against the rest of the image. Pay attention to reflections and highlights, and use dodging and burning techniques to sculpt and shape the light, enhancing the car's contours and features.
5. Correct Perspective and Distortion: Perspective distortion can often occur when photographing vehicles, especially when using wide-angle lenses or shooting from low angles. Correcting perspective distortion helps to ensure that the car looks natural and proportional in the photograph. Use tools like the transform or perspective crop tool to straighten lines and adjust the angle of the car, making it appear more balanced and symmetrical. Pay attention to the composition and framing of the image, and make subtle adjustments to improve the overall visual flow and balance.
6. Remove Unwanted Reflections and Glare: Reflections and glare can be common issues in vehicle photography, especially when shooting cars with shiny surfaces or glass windows. Use targeted retouching techniques to remove unwanted reflections and glare, making the car's surface appear smooth and clean. Use the clone stamp tool or content-aware fill to eliminate distracting reflections, being careful to preserve the integrity of the car's shape and contours. Pay attention to the direction and intensity of light, and adjust accordingly to achieve a balanced and natural-looking result.
7. Final Touches and Fine-Tuning: Once you've addressed the main retouching tasks, take the time to fine-tune the image and add final touches. Adjust the overall brightness and contrast to ensure that the image looks balanced and well-exposed. Experiment with creative effects such as vignettes or selective blurring to draw attention to the car's focal points and create a sense of depth. Pay attention to small details like license plates or logos, and ensure that they are legible and properly aligned. Finally, step back and evaluate the image as a whole, making any necessary adjustments to achieve the desired look and feel.
Conclusion
Mastering vehicle photography and photo retouching requires patience, practice, and attention to detail. By following the steps outlined in this guide and experimenting with different techniques, you can capture stunning images that showcase the beauty and personality of any automobile. Remember to stay curious, keep learning, and most importantly, have fun exploring the world of automotive photography.


1 Comment
Ilana
29 May, 2025 12:33 AMExcellent facts Regards. casino en ligne Superb forum posts. Regards! casino en ligne Useful posts, Thanks! casino en ligne This is nicely put! ! casino en ligne Nicely put, Many thanks! casino en ligne fiable Well spoken genuinely. . meilleur casino en ligne Kudos. Good information. meilleur casino en ligne You actually revealed this effectively! casino en ligne Terrific material, Regards. casino en ligne francais Effectively voiced certainly. . meilleur casino en ligne